By Bryan Wall
Product Test Journalist | Kaipūrongo Whakamātautau Hautaonga
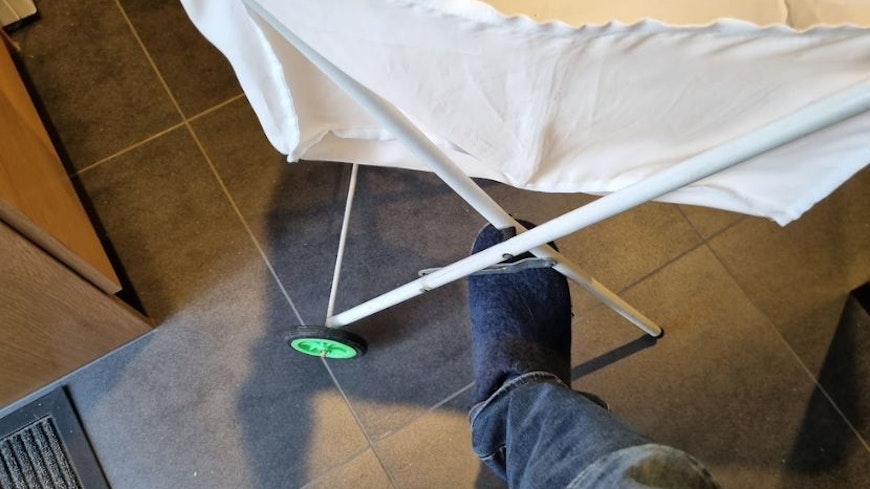
The Suzy laundry trundler is an iconic New Zealand product that has carted wet laundry from the washer to the line since the 1960s. Its design hasn’t changed much over the decades.
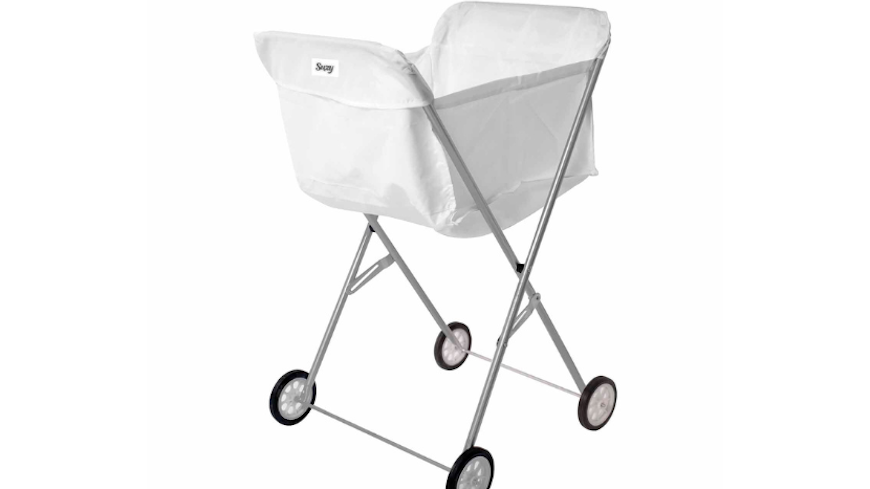
Our Suzy broke
At the Wall household, we’ve had our Suzy for about 15 years, and she’s really a part of the family, despite the fact my most hated household chore is hanging out the washing. Over the years, this trundler has received a fair amount of abuse: being overloaded, chucked into the cupboard and buffeted by the gnarly Wellington winds. It’s not surprising that eventually it needed some TLC.
The first repair was a replacement bag about 7 years ago as the loads of heavy, wet laundry eventually tore the original’s seams.
Frustratingly, the replacement bag has only a pocket for pegs on one side, where the original had two – a backward step in my books. I can only store half the amount of pegs, and I often get the pocketless side when blindly reaching for an extra peg whilst grappling with an item half on the line.! It’s also a tad annoying that only one side of the frame has the release clip to fold down the trundler – I regularly kick the wrong side. There are probably better designs out there, but I can’t get excited about spending more money on a laundry trundler.
The second repair
The second repair was required a few weeks ago when my wife alerted me to the fact that one of the wheels was broken.
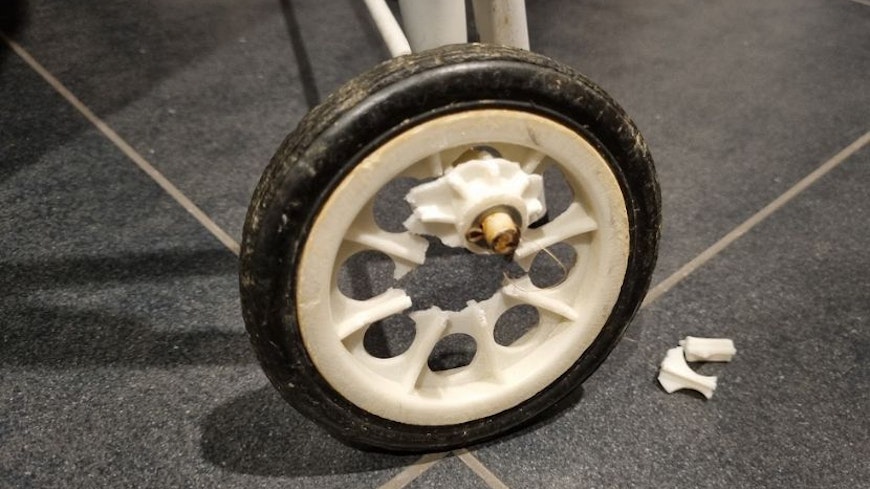
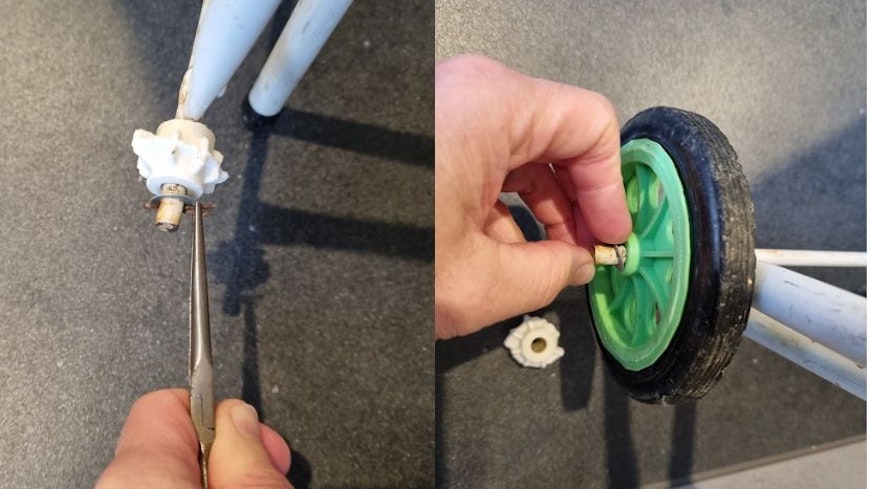
The years of exposure to the elements had made the plastic centre of the wheel brittle, and the hub just broke off. It wasn’t possible to glue back together as the plastic was so crumbly.
Never fear, replacement wheels are available, and they’re listed on the Mitre 10 website for only $13. However, they aren’t stocked in store and must be ordered online, which adds an extra $7 in delivery fee. That’s when I started to think I might be better off buying a new trundler instead as that big orange shed sells a 4WD version (!) for only $60.
But no, as the champion of repairability here at Consumer NZ, I needed to stick to my guns and try to repair what I had.
3D Printing
Luckily, my youngest son had requested a 3D printer for his 11th birthday last year, so I popped on the internet to see if anyone had uploaded a print file for this part. Lo and behold, the stars aligned, and there was one, to my great joy!

Now, I’ll flag the elephant in the room up front – not everyone has a 3D printer at home and buying a $300+ machine to print one $20 wheel doesn’t make much sense either. However, once you start fixing stuff with 3D prints, you won’t stop!
There is an alternative to buying a machine though – some libraries have 3D printing facilities, and there are 3D printing companies around that will print for you, too (although they are probably more expensive).
Here in Wellington, we have Tūhura Hive makerspace at Johnsonville Library, and the staff will 3D print for you at a cost of 10c per gm of filament (this is the plastic wire that is melted to form your part). Our Suzy wheels take around 34gm of filament each, so we’d be looking at about $3.40 for a wheel from the library.
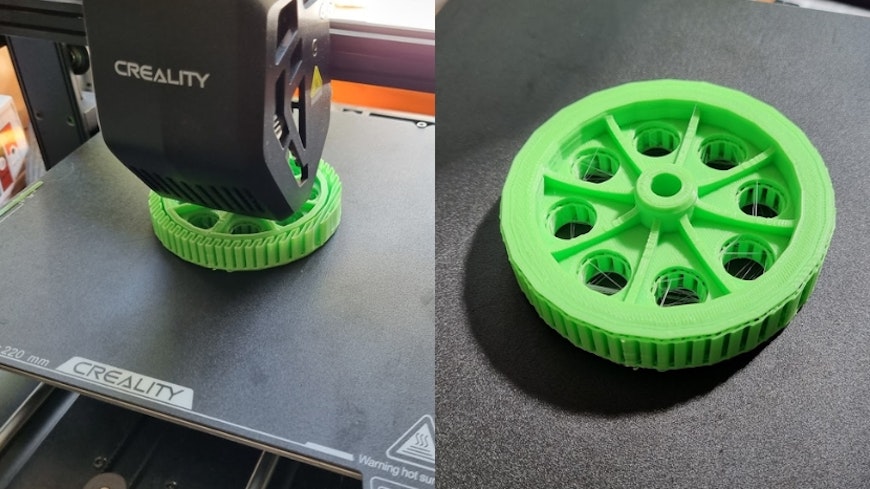
Back home, we got printing – in the almost luminous green filament that my son had chosen recently. (I can probably hang out the washing in the dark now!)
Clean-up and re-tiring
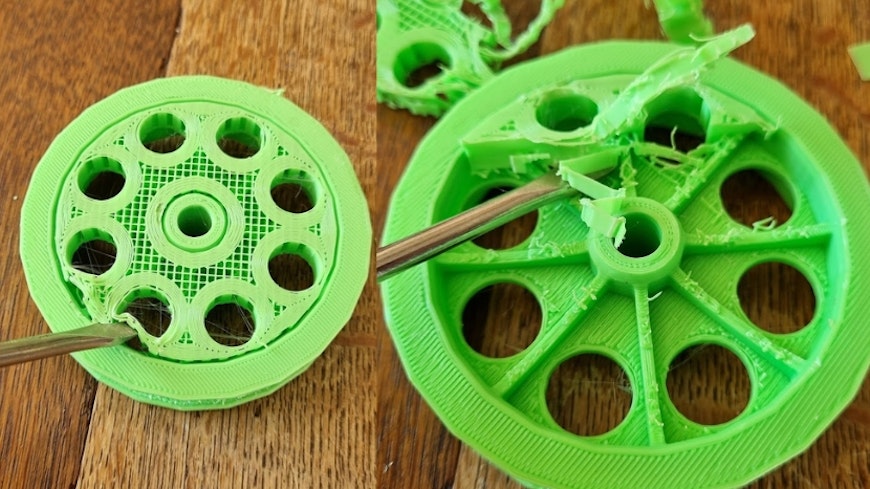
Once the print was finished, I had to do some clean-up work to reveal the wheel under the plastic supports.
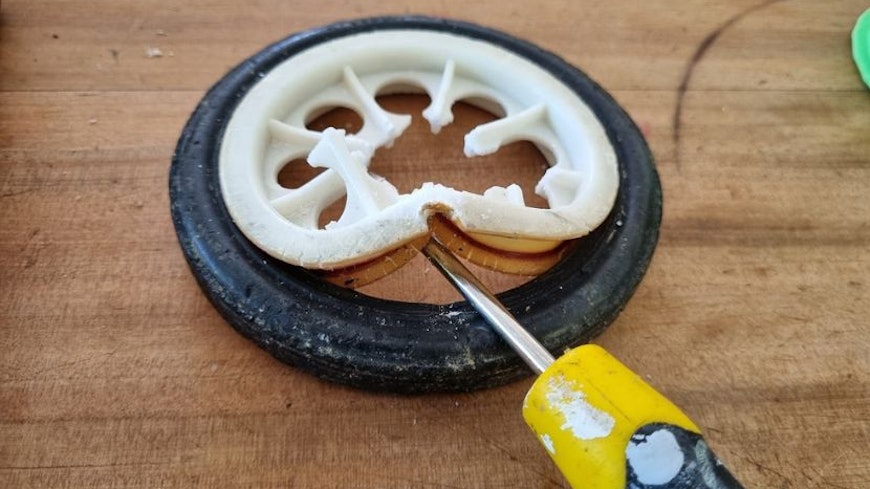
The next stage was quite tiring. Literally. Getting the old tyre off the broken wheel and onto the new one was near impossible. The rubber had hardened over the years and prising it off was difficult. In the end, I just bent then broke off the plastic centre.
You’ll ask, why not print new tyres? Well, you need a special rubber-type filament called thermoplastic polyurethane (TPU), and we didn’t have any at home, plus there is no online 3D file of the tyre. I could have modelled up one myself (I trained as a 3D designer), but I wanted to reuse as much as possible.
Stretching the tyre over the new 3D printed wheel was simply impossible due to the hardness of the rubber. The only option was to cut the tyre and then glue it on.

Reassembly
Once the glue had dried (I used a 2-part epoxy), it was time to remove the remains of the old wheel and install the new one. I needed pliers to pull out the split pin, and then it was a simple job to fit the new wheel.
The third repair
A few weeks later, the other wheel went bung, so I printed another, this time in black.
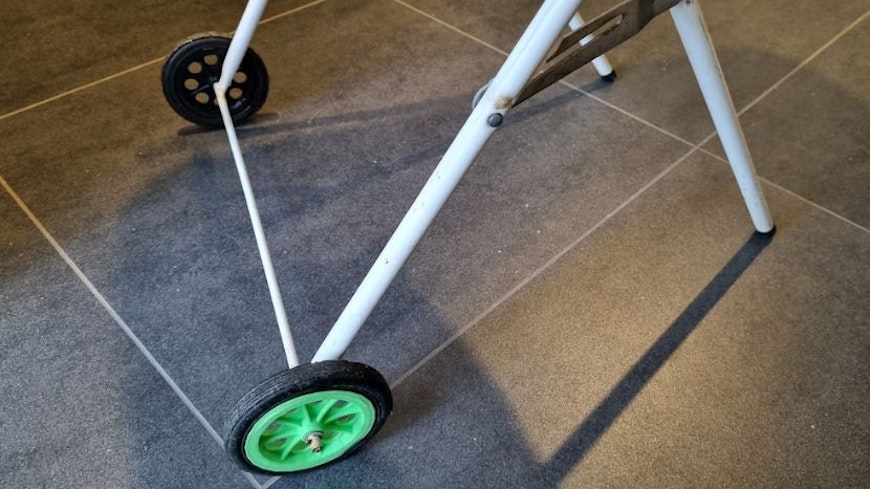
And what’s the best thing about this repair? I now have a visual clue as to which is the folding side – it’s the green side. So, I no longer kick the wrong side to fold the trundler. This makes me very happy!
You can't see my face but I'm smiling.
The takeaway
So, what’s the takeaway from this? Repairing a relatively low-value item is probably not top of everybody’s to-do list, but many of these items get dumped every day due to minor failures, and the less we send to the landfill and replace with newly manufactured ones the better. You might even be able to improve your product in the process. Plus, it’s great fun to do!

Sick of wasting money on products you can’t repair?
Learn about our campaign for a right to repair and help us demand a mandatory repairability label.