By Bryan Wall
Product Test Journalist | Kaipūrongo Whakamātautau Hautaonga
In my household, we’d put up with our aging gas cooktop for over 15 years. The gas pressure was never quite high enough, so full-on stir frying was nigh on impossible, and with the rising cost of gas, it was time to go electric.
A good deal on a new induction cooktop was the catalyst for the change. But the installation wasn’t quite as simple or cheap as we’d hoped – was it worth the cost and hassle?
Until now, gas has been the fuel of choice for professional kitchens as it’s fast to heat up, easy to control and works with all types of cookware. It’s excellent for both quick high-temperature cooking, such as stir frying, and low temperature simmering, as is needed for making sauces. With the plethora of Top Chef and Master Cook type shows on telly nowadays, we all want the best kitchen set-up, and that should start with the cooktop.
Cooktop options
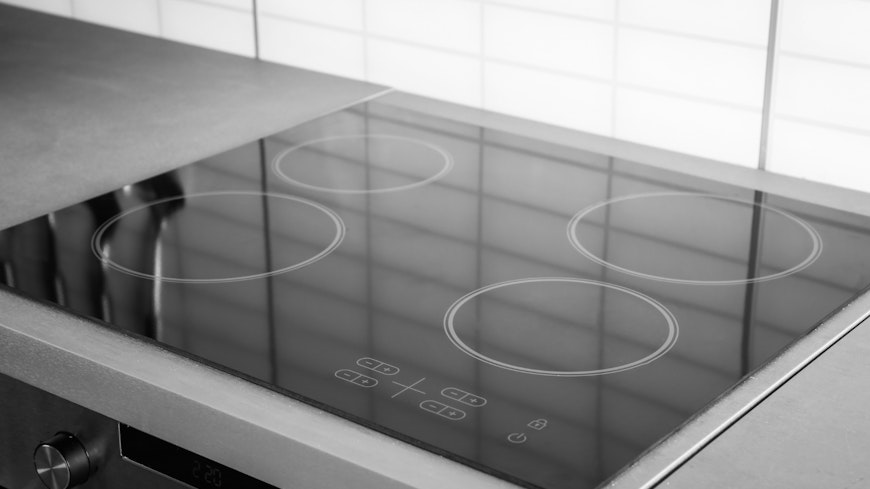
There are three main types of cooktop – gas, ceramic and induction. Gas cooktops look very different, consisting of a metal trivet that suspends the cookware over the gas burners, but externally ceramic and induction look very similar – smooth, black glass tops usually with touch controls. But, while ceramic and induction might look the same, they work very differently.
Ceramic cooktops use a radiant heat element under the glass to transfer heat into your pots and pans. Meanwhile, an induction cooktop has a coil underneath the top that ‘induces’ a high-frequency magnetic field in the base of your cookware. This magnetic field transfers energy into the metal in your pans, heating it up.
Induction cooktops are typically around twice as expensive as ceramic (at the time of writing, the average price of our tested ceramic cooktops is around $1,200; for induction models it’s $2,600), so why would you spend double for something that looks the same and does the same job?
Well, induction is much faster to heat than ceramic – in a recent test, we found the average boil time for a litre of water on a ceramic cooktop was around 6½ minutes, with gas being similar. For induction, it was less than half that time, at 3 minutes. On boost/max mode (where the induction hob sends additional heating power to the element), this can be further reduced to less than 2 minutes. For context, electric kettles take over 3 minutes to boil a litre of water.
Induction is more energy efficient than both gas and ceramic – little energy is wasted as only the pan is heated, with no radiant heat escaping and very little heating the glass surface. Gas cooktops are around 30% efficient, that means, 70% of the gas you are paying for is wasted. Induction is 85% efficient, so even though electricity is over twice the price of gas per kWh, that massive increase in efficiency offsets the greater cost for power. Ceramic cooktops are around 70% efficient.
Induction is inherently safer than the other cooktop types, too, as only the cookware is heated, although there is residual heat transferred back to the cooktop surface from the pan (a residual heat indicator tells you if the surface is too hot to touch) Burning gas emits harmful pollutants, such as nitrogen dioxide and formaldehyde.
Retrofit installation
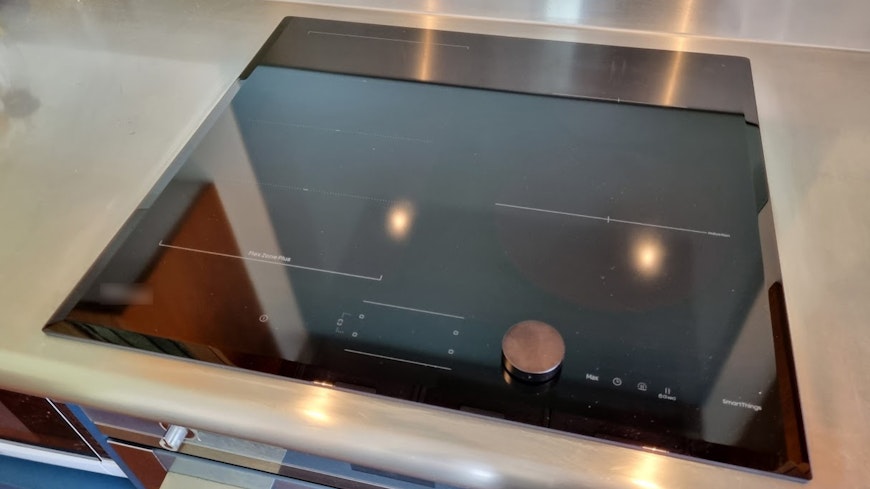
We scored our bargain Samsung induction cooktop on sale for a tad over $1,400 delivered.
Electrical requirements
Our existing set-up was a gas hob with electric ignition and an electric oven, so we already had a supply of electricity in the vicinity. However, most induction cooktops take a much higher current draw (32 amps in this case), so we couldn’t use any of the existing circuits, which are only rated to 20 amps There are some low current induction cooktops that use less than 20 amps, but be aware that the lower overall power means you won’t be able to use all elements on full power at the same time.
You can’t just plug in an induction cooktop like you can some ovens – so you’ll need a sparky to hard wire a dedicated 6mm-thick cable to a 32-amp (or higher) circuit breaker on your switchboard.
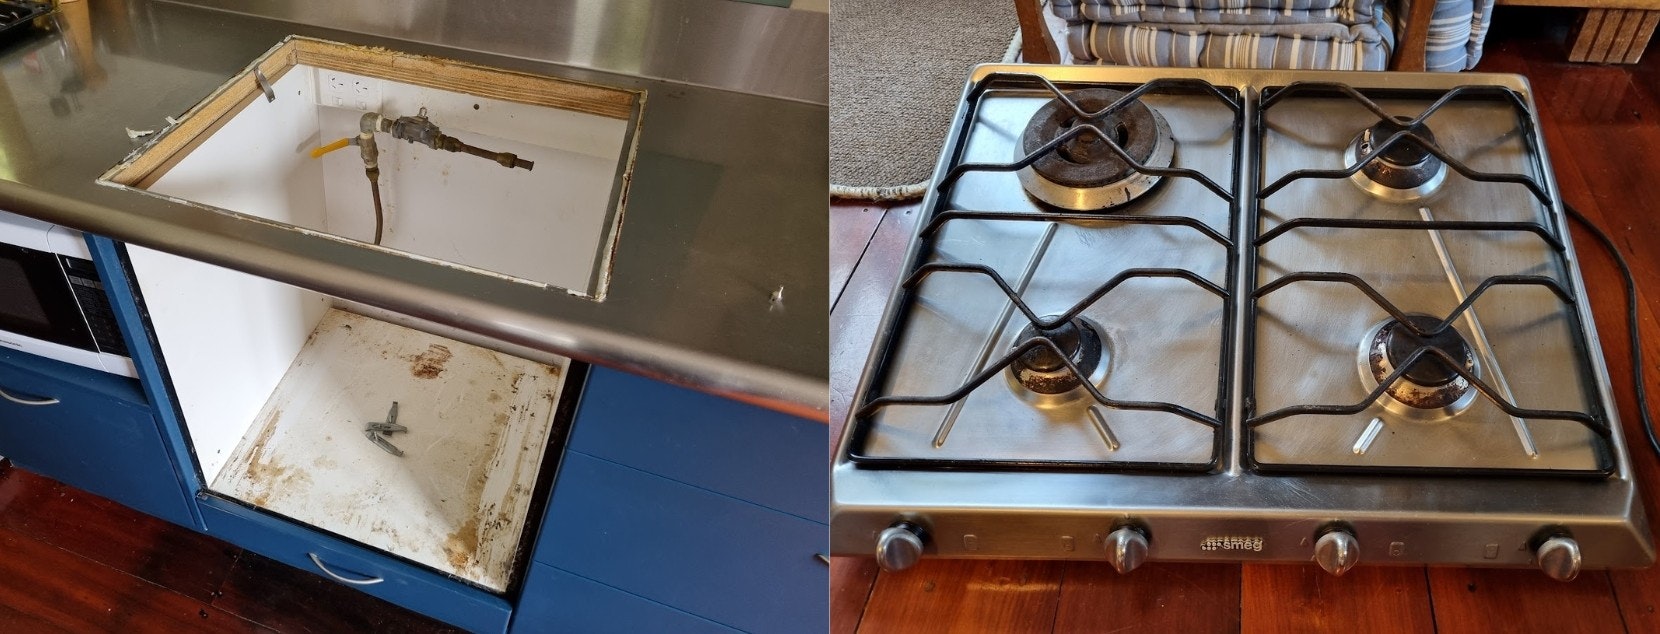
Removing the gas cooktop
Our install was further complicated by having a gas appliance that required removal, with pipes that needed to be cut back and capped off (not something an electrician can do). We found an electrician on the Builderscrack website who also worked closely with a gas fitter, so we could synchronise the gas work with the electric, meaning minimal downtime with no hob for cooking.
Removal took less than an hour, with most of the time spent cutting away the supply pipe and capping it off under the house. We gave the old hob away for free.
Induction installation
Before the installation, our electrician told us he’d need to do some exploratory work for routing the cable.
Wiring an older property
The problem with old houses (ours was built in the 1920s) is they weren’t designed with electrics in mind (there were only two ‘hot points’ when ours was built), so adding cabling can be a trial, and a cost. In our case, we had to run a cable through the external wall and up a conduit on the outside of the house, into the roof space and then along to the switchboard. This was more costly again as it required a weatherproof conduit and sealant and more time for the install.
Regulations also require a separate isolation switch for the hob within reach of the cooktop and wired in with the main cable.

The installation took about 5 to 6 hours in total, and the final cost, including the gas disconnection, was $1,173 including GST.
This doubled the overall cost, but the installation cost would have been the same for a ceramic cooktop.
Cooking with coulombs
So, what’s cooking like with induction? In a word? A revelation! I cannot believe we put up with our shoddy gas cooktop for so long!
We used to have to boil the kettle to help start pasta or rice cooking as it took so long to bring cold water to boil on the gas hob. But now we just put a pan of cold water on the ‘max’ setting of the induction hob, and it’s boiling in a fraction of the time.
It’s not all about the speed, though – the ability to turn down the heat instantly and finely control simmering is equally impressive, but I think my favourite feature is the built-in timer for each element – a true game changer that avoids overcooking as the element switches off when the time is up. This makes cooking so much more relaxing! We also have a ‘keep warm’ function, which is great if you haven’t timed everything perfectly and need to keep the steak warm while you finish cooking the veggies. The cooktop also automatically detects if a pan is removed and turns off the heat.
Induction cooktops do make some strange sci-fi noises though – bleeping and whistling like a drunk R2D2 at times, but I kind of like this as it gives you feedback that something magical is happening in your kitchen. And it truly is magic – I mean, using a magnetic field to vibrate molecules to heat up metal is astounding. Sometimes, I think we forget how amazingly inventive humans can be.
The one downside for us was that our treasured set of pans wouldn’t work anymore – induction requires magnetisable metal in the base of the pan, and our particular stainless steel pans didn’t contain the right type of ferromagnetic material (some do). You can check whether yours will work by grabbing a fridge magnet and seeing if it attaches to your pans.
Other cooktop features
Our purchased induction cooktop appealed due to the price, but I was also attracted by the fact it has a physical control knob (the majority of induction cooktops only have touch controls). The Magnetic Knob can be removed for cleaning or if you decide you’d prefer to use the touch dial that resides underneath. The tactile feedback of a physical control is great, but unfortunately, this Magnetic Knob isn’t perfect as it can take a second or two to register movement and change the temperature setting – particularly frustrating if you’re trying to stop a boilover!
The other downside, and this applies to many electric cooktops, is only having one temperature control for all the elements and having to preselect the element button before changing temperature. This makes for a more compact control layout, but it’s a real pain when you’re using more than one element and have to remember to select a particular element before being able to change its temperature.
In retrospect, we should have chosen a cooktop with individual controls for each element.
Many induction cooktops also feature a ‘flex zone’, which is where you can combine two elements into one larger zone to accommodate larger pans. This is very useful for large frying pans that are too big for the other elements and for rectangular pans, like fish kettles (but who has one of those?).
Keep it clean
Cleaning the old gas cooktop was a pain, but the induction cooktop is a pleasure. I added a small bead of silicon around the edge to stop dirt getting underneath the glass, but otherwise, there are no dirt traps as it’s just a single smooth piece of glass. You can buy special ceramic glass cleaners, which are useful if the top is really dirty, and you can get scrapers (essentially just a razor blade in a holder) to remove any stubborn dirt that might have been burnt on. I like to clean ours after every use to keep it sparkling, as the glass is very reflective and shows up dust and dirt easily. You could use any kitchen cleaner really, but it’s good to have a clean microfibre cloth on hand to buff out any smudges.
There are some matt-finish induction cooktops available that would hide the smudges better.
Was it worth it?
All in all, our cooktop and install totalled $2,579. Then, we added another $219 for new induction-compatible pans. So, it wasn’t at all cheap, but we’re very happy so far, and if you’re considering upgrading your kitchen, I’d urge you to choose induction for its speed, responsiveness and energy efficiency.
A checklist for induction before you buy
Talk to an electrician and get a quote before you buy any new cooktop – discuss if a new cable is required and, if so, where the cable may be routed and the likely position of the isolation switch.
If you intend to replace an existing cooktop, measure its cut-out size and check this against the new cooktop’s specifications.
Grab a magnet and check if your current pots and pans are magnetic in the base and therefore compatible with induction. If not, you’ll need to factor in the expense of replacing your favourite pots into the overall cost.
Try to buy a cooktop with separate controls for each element and make sure it has a timer and boost setting. It’s worth getting one with a ‘flex’ zone too.
Check that the element sizes on the cooktop are big enough for your cookware.
Read the specifications and test results for a range of induction cooktops on Consumer NZ’s cooktop reviews page.
The EECA home energy savings calculator can tell you how much an induction cooktop could save you per year.
Brought to you in partnership with EECA.

How to make your home energy efficient
We've got you covered with tips on choosing electric appliances, considering an electric vehicle, and even adding solar panels to your home.