By Bryan Wall
Product Test Journalist | Kaipūrongo Whakamātautau Hautaonga
We take a look at repairing a Karcher window vacuum - can this $10 Trade Me purchase be resurrected?
What’s a window vacuum and why repair one?
We see a lot of rave reviews about Karcher window vacuums online, so decided to see what all the fuss was about.
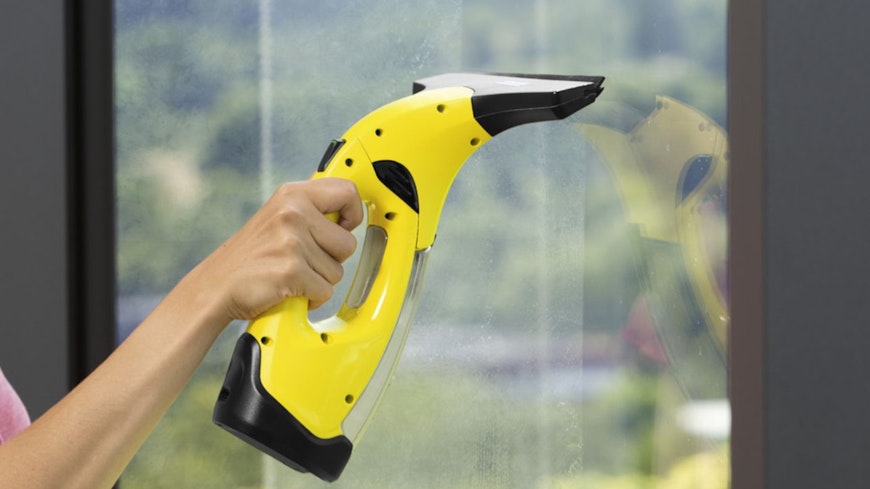
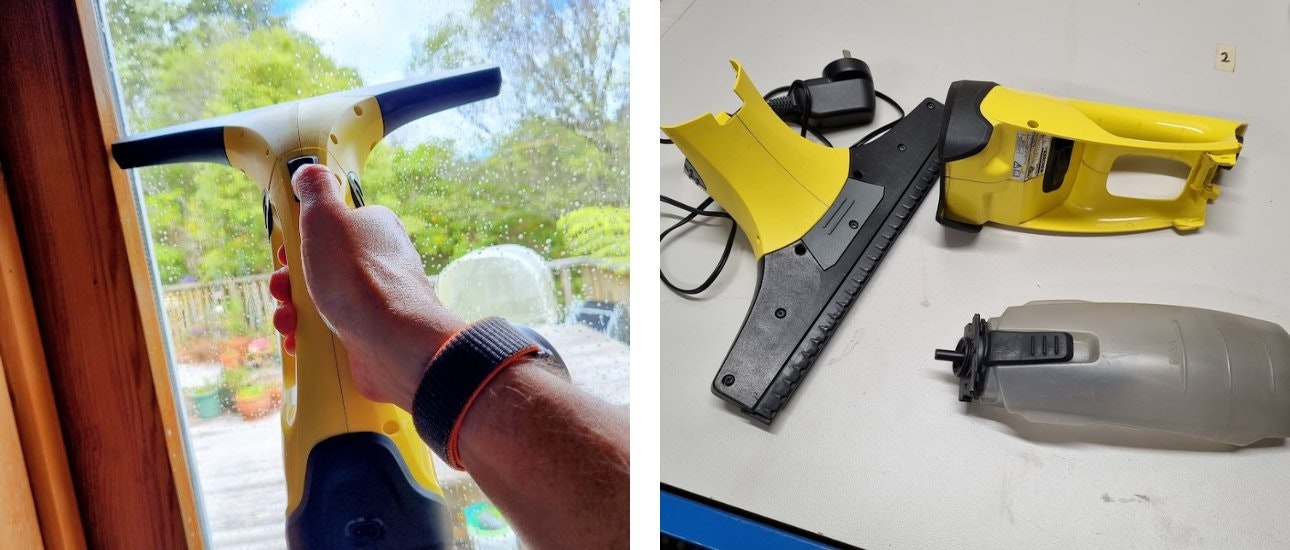
Put simply, window vacuums resemble an oversized squeegee, but inside is a suction motor that removes excess moisture from the glass after you’ve washed your windows. The head has a narrow slot that the water enters through, then the motor suctions it back into an on-board bottle.
We’ve reviewed these units before, looking at their efficacy at removing condensation.
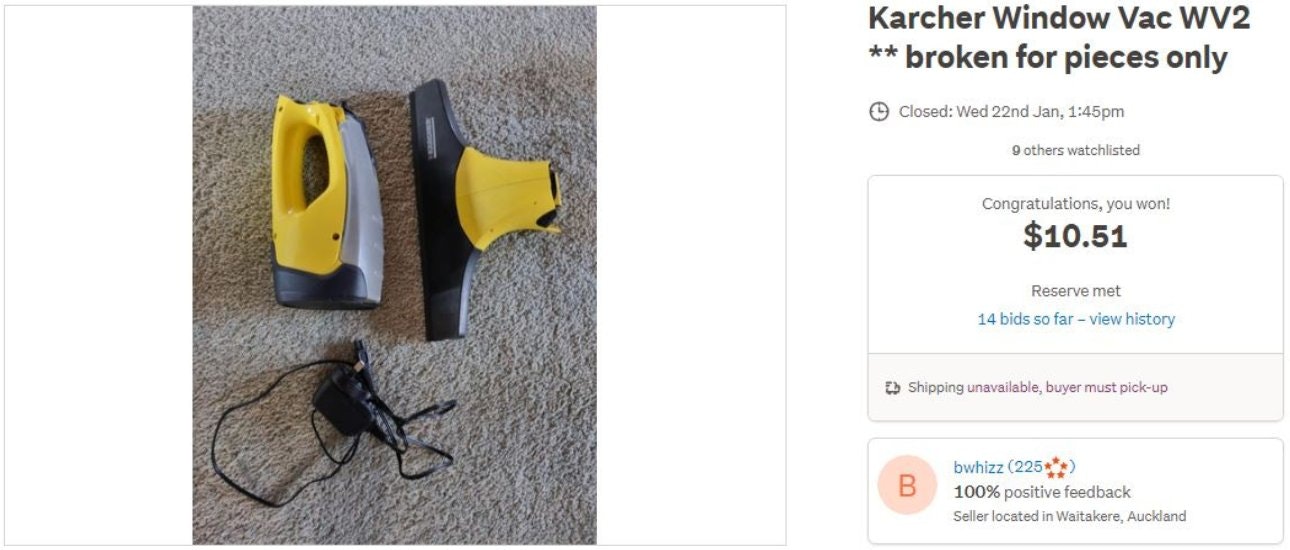
Before we forked out the $150 for new one, I checked Trade Me for cheaper options and found a listing for “Karcher Window Vac WV2 ** broken for pieces only”. The excitement increased when I saw its $1 reserve listing. I ended up securing the busted vac for the tidy sum of $10.51 (plus $10 postage).
Repair research
Our $10 vac listing stated:
Karcher window vacuum used mildly in the last 4 years.
Randomly stops working at times and not working at the moment. We got it to work back in the past by blowing air on the fan (common known fix).
We couldn't be bothered and bought a new one.
This prompted a quick google of the issue. I found a decent amount of repair advice, including video guides, although a lot revolved around battery problems. Could this be the problem? Only one way to find out…
Taking it apart
Often the hardest part of any repair is getting apart a product that the manufacturer doesn’t want you to dismantle.
Karcher is no exception! The window vac featured non-standard screw heads and a tricky-to-remove base that hid further fixings. Again, the internet came to the rescue, with helpful disassembly videos preventing me breaking the vac before I’d even got inside.
You’re all torx
Karcher uses torx-head screws. It's possible to use a flat-head screwdriver to remove them, but it's tricky, especially for the deeper recessed screws. Aspiring DIY repairers should invest in a set of torx screwdrivers from a hardware store. Or better yet, an iFixit kit like we have in our workshop.
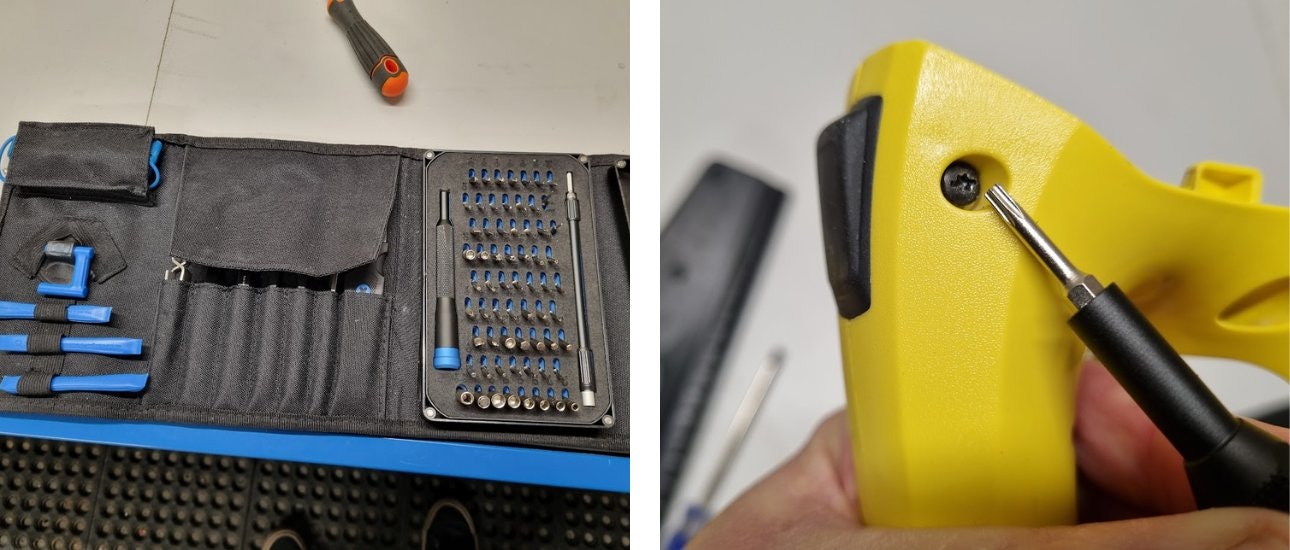
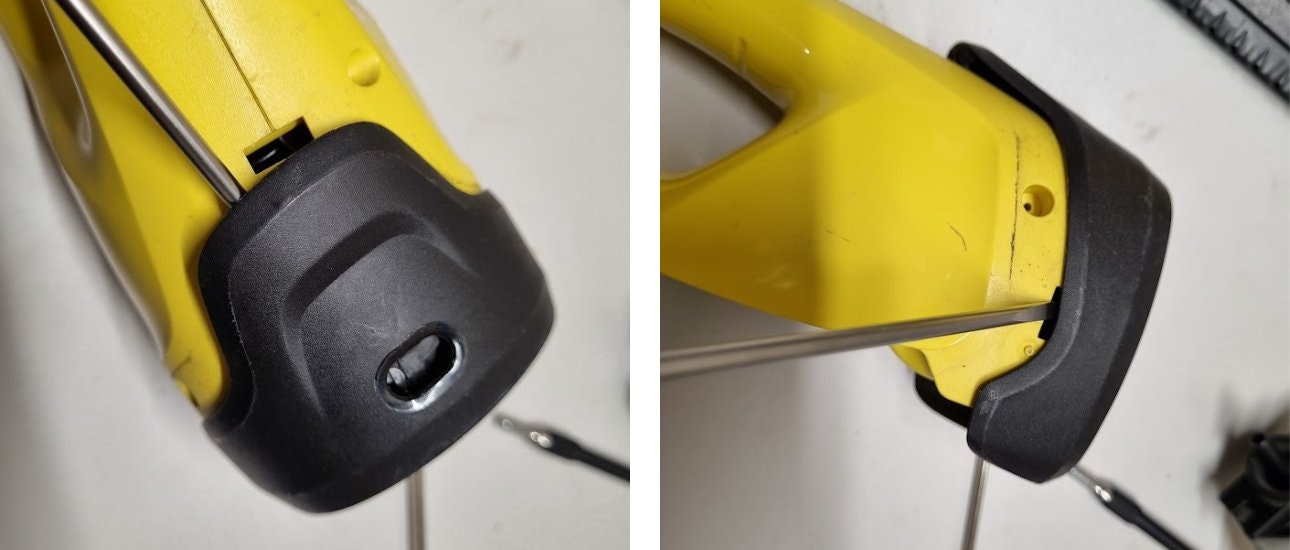
Removing all the visible screws still didn’t allow access to the internals, so the next thing to do was prise the base piece off with a screwdriver (after watching a how-to video).
What’s inside?
Removing the base piece revealed the internals and I found out why Karcher might be so keen to hide what was inside!
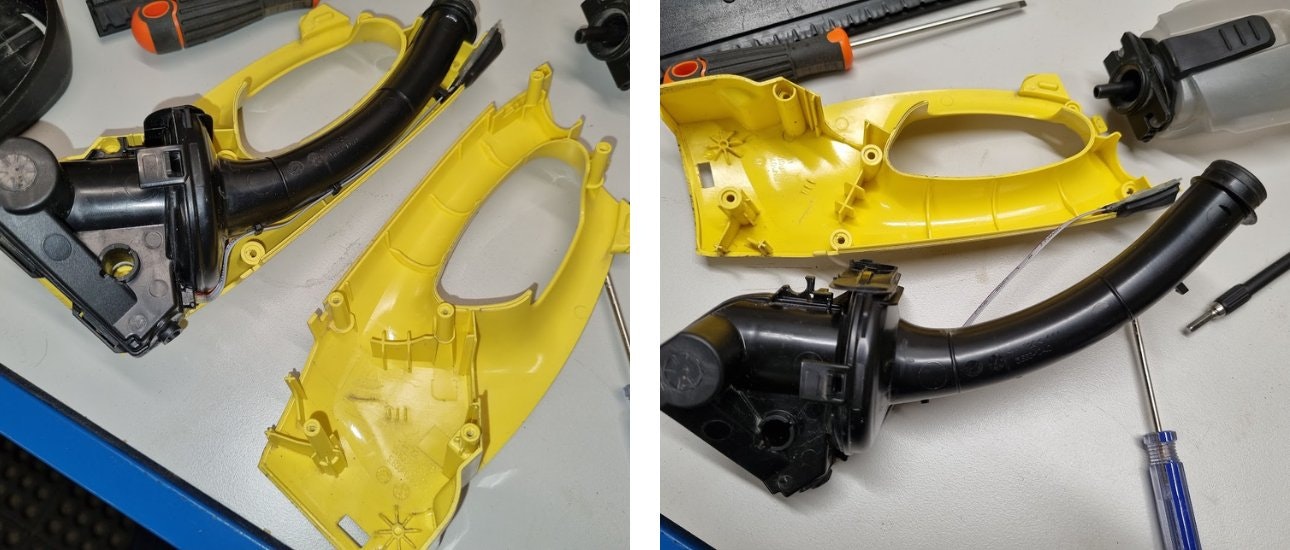
The internal sub-assembly clips apart to reveal the motor, battery and circuit board, and straight away I could see the problem was one of “moisture ingress”.
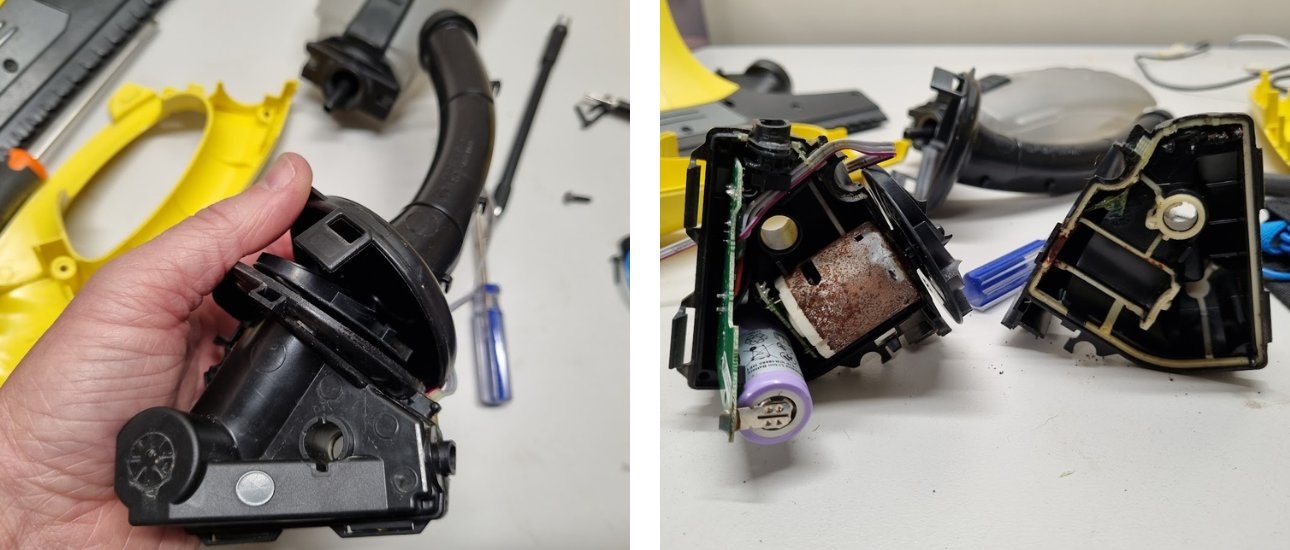
Rusty as!
The motor had quite a lot of surface rust, but luckily the battery and circuit board both looked in good shape. The plastic impellor fan that sits on the motor shaft wasn’t keen to turn, so I prised it off to get to the motor.
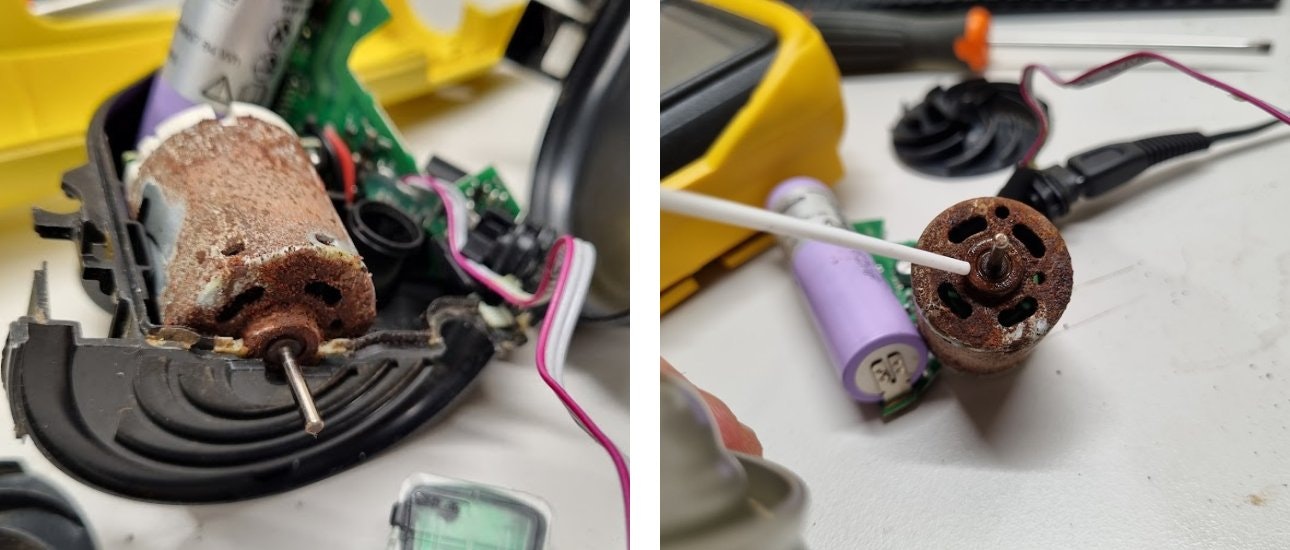
Even with pliers gripping the motor spindle it was very difficult to turn, making diagnosis of the vac’s problem pretty obvious – rust had caused the motor to seize.
A bit more research online indicated that the small bearing on the end of the motor can seize if it gets rusty, so I tried a small drop of CRC to try and loosen it.
Success!
And it worked! The spindle ran freely, and pressing the on button now ran the motor instead of giving me a flashing warning light.
I can’t fully explain the excitement you feel when you succeed in fixing something like this, but there were a few fist pumps!
Careful re-assembly followed, making sure the fan was pressed down onto the motor shaft enough so as not to foul the casing. Then a quick test confirmed the product’s resurrection.
What’s it like to use?
I’d seen a window vac in action before removing condensation but never had my hands on with one for cleaning windows.
Well, I’m converted! I love it.
Watch out for a more detailed review soon, as we’ll be looking at different methods of cleaning windows. But for now, the Karcher window vacuum is my go-to for quick, streak-free cleaning of interior and exterior windows.
After every use, I make sure I take the collection bottle and squeegee head off, run the motor for a few seconds, and leave the bits apart for a few days to dry out, in the hope that the bearing doesn’t seize again.
But if it does, I’ll just take it apart and fix it!

Sick of wasting money on products you can’t repair?
Learn about our campaign for a right to repair and help us demand a mandatory repairability label.