By Bryan Wall
Product Test Journalist | Kaipūrongo Whakamātautau Hautaonga
The humble toaster is often binned when it stops working, as spare parts aren’t readily available. But before you chuck out your toaster, you could consider a repair.
Of course, you might also electrocute yourself. Don’t attempt any electrical work on your toaster unless you’re competent and take precautions. Remember to unplug first!
You could also read the Worksafe NZ Electrical Code of Practice ECP50, which provides guidelines for repair and maintenance of domestic electrical appliances by owners.

The sad case of the Consumer NZ toaster
Toasters get a lot of abuse and not a lot of care. When, for example, was the last time you emptied your toaster’s crumb tray? Did you even know it had one?
The communal toaster at Consumer NZ fares no better. It’s a hardworking two-slicer that smashes out multiple rounds of toast, bagels and crumpets every day, yet no one bothers to clean it. Indeed, we even found a burnt silica gel pack at the bottom of ours!
So, it wasn’t surprising when it recently stopped working.
We replaced it with a new model left over from a recent test, and the old one was dumped next to my desk.
As the guy championing repairability here at Consumer (and known as “Fix-it Dad” at home), I decided to don my repair cape and take the old soldier down to the workshop to attempt resuscitation.
I didn’t have high hopes. Modern toasters – I thought – are essentially sealed units and unrepairable. Consumer’s model wouldn’t click down, indicating a failure of the carriage lift mechanism (the bit that lowers and raises the toast). There was only one way to find out.
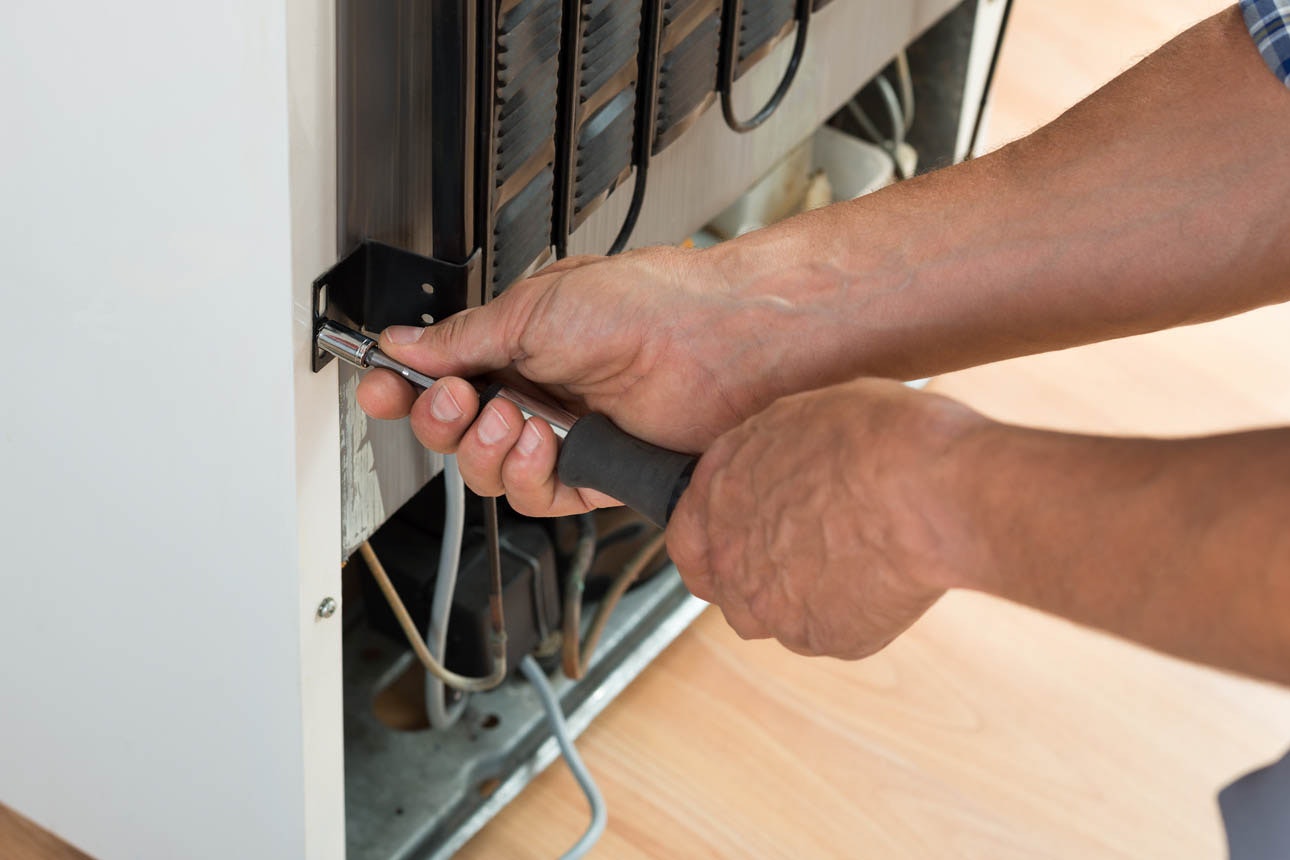
Take it apart
The most difficult part of the whole repair was getting the toaster apart. This is probably why most people give up or break their toaster (and their will to live!) trying.
Toasters aren’t really designed to be dismantled, due to the electrical risks involved. It’s not intuitive how you’re supposed to do it, and you may need special tools.
First things first
I started underneath, where I could see seven screws that I then removed.

However, the base still didn’t come off. I was left scratching my head, wondering if there were clips hidden somewhere as well. Eventually, I had a hallelujah moment and discovered that the screws just held the feet in place. I prised out the feet to reveal another set of screws underneath! Sneaky toaster engineers!

Two of these hidden screws required a special Torx-head screwdriver – something most keen DIYers will have in their tool kit, but cheap enough at the local hardware store if you don’t.
After removing them, the base became loose, and I began to get excited.
Removing levers and knobs
I still couldn’t completely remove the toaster’s external shell though without prising off the browning knob and carriage lever. The knob was easy enough to remove by hand. The trick with the carriage lever was to use two screwdrivers, one on either side of the lever, to prise it outwards at the same time (thanks YouTube!).

Cue more excitement in the Consumer workshop as the toaster shell finally came free, along with a decent quantity of breadcrumbs.
A small electrical connector had to be disconnected to take off the shell completely.

Time for a clean
Looking at the toaster’s carriage lever mechanism, I couldn’t see anything physically broken. Upon further inspection, I noticed the mechanism used a small electromagnet to hold down the lever.
This electromagnet is energised when the lever is pushed down, and it holds onto a metal plate that keeps the lever down and the toast in the slots. This only works if the toaster is plugged in and switched on at the wall!
There was dirt on both the metal plate and the electromagnet, which was stopping the two parts making proper contact, so the magnet couldn’t hold the lever in place.
A quick Google indicated this is a common problem with many toasters.

It was easiest to clean the area by slipping out the circuit board. This involved removing one screw and jiggling the board a bit to release some clips. You could probably do the clean with the board in place as well, though.
Clean away!
Once the board was out, I cleaned away the dirt with a small brush and tissue paper. I also cleaned inside the toaster as much as possible.
Then I screwed the circuit board back in place, plugged in the connector and replaced the top shell.
At this stage, I plugged in the toaster at the wall to do a quick test before screwing the base back on.
And it worked! Job done, satisfaction level = max.
What we learned
The moral here is to keep your toaster clean! But also, not to give up on cheaper simple appliances when they break.
Before you bin a faulty appliance, have a go at diagnosing the problem yourself – Google and YouTube are your friends. But take extra care with electrical repairs and seek professional advice if things become too complex.
If you succeed, you’ll get an immense amount of satisfaction and save yourself dollars. You’ll also save sending another heap of metal and plastic to the landfill.
My repair made our test team market researcher, Kirsty, happy as well. The replacement toaster didn’t toast her Vogels as evenly as the old one. She was glad to see the trusty two-slicer return.

Sick of wasting money on products you can’t repair?
Learn about our campaign for a right to repair and help us demand a mandatory repairability label.