By Bryan Wall
Product Test Journalist | Kaipūrongo Whakamātautau Hautaonga
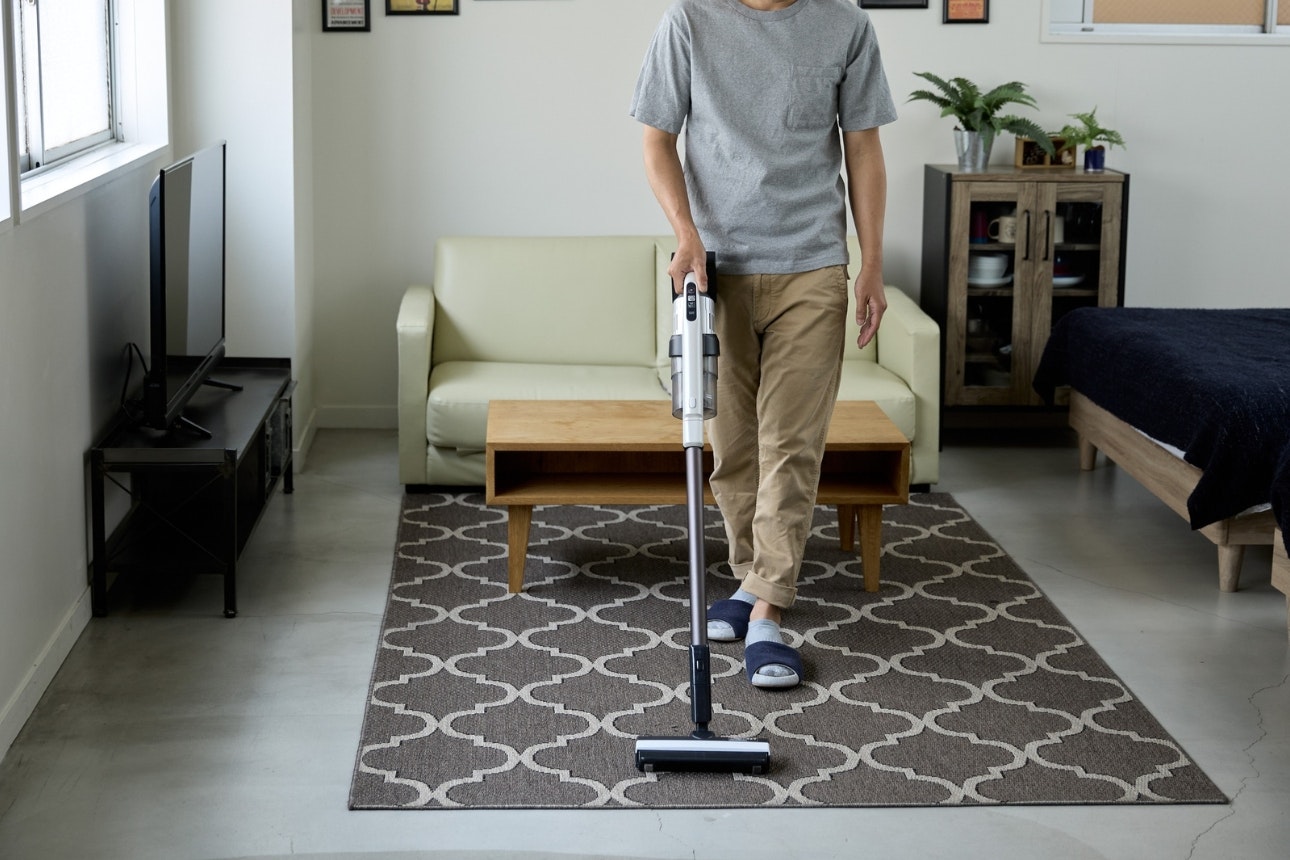
Cleaning stains off rugs or carpets can be an expensive and often impossible task.
There are machines out there to make it easier, but they don’t come cheap. A decent portable spot cleaner can be upwards of $300 new, but we managed to score a pair of broken models for $32 on Trade Me. We wanted to see if we could fix them and write about the process. Well, we did, so read on to find out how!

Before we start, what is a spot cleaner?
The concept is simple.
A pump squirts diluted cleaning solution onto the stain.
You scrub with the brush head for a few seconds.
A suction motor sucks the stain out of the carpet (or upholstery) while you’re scrubbing.
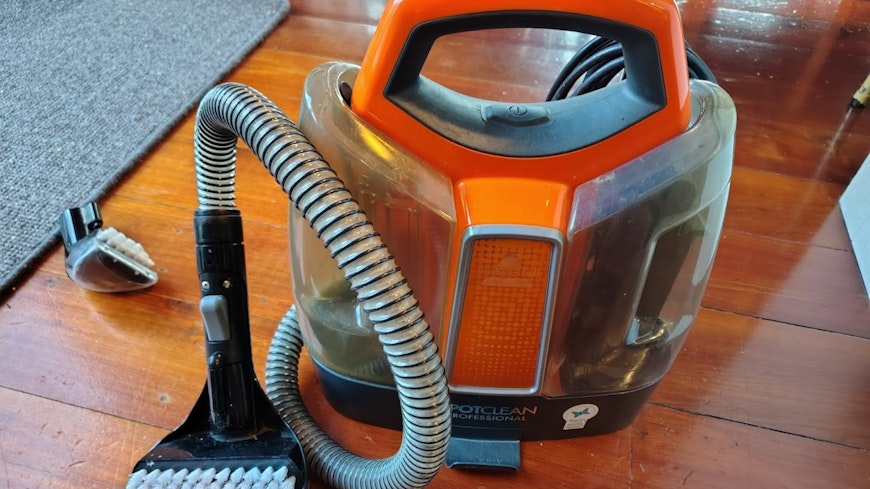
The Bissell models we purchased both have 2 tanks – one for the solution mixed with water, and one for collecting the dirty water. There is a long hose that can accept a variety of cleaning heads. The heads consist of a nozzle that sprays the cleaning solution out in a wide fan and a scrubbing brush to loosen the stain.
Our broken purchases
The Trade Me listing that caught my eye was titled “Bissell spot cleaners faulty”, and the description was:
“Faulty – both don’t squirt out liquid, as if there is a blockage, but I can’t find any blockages. Must be a common problem as it has happened to 2 of them now.
Such a shame as they’re a really good machine!”
Before bidding, I did some research – finding a video with a fix for this very problem, which made me quietly confident I could do the repair.
When the Bissells arrived, I was a bit disappointed by their overall condition – quite grubby with pet hair and dirt. This didn’t bode well for the repair.
The repair
The YouTube repair video I’d watched showed that a kink in the delivery hose could be the cause of the lack of squirting action. This hose resides in the base but isn’t difficult to get to. I detached both the water tanks, which revealed 3 screws on either side to access the base internals.
Much to my dismay, there was no kink in my hose at all. So, time for plan b.

The problem had to be down to one of two things – either a blockage in the pipe or nozzle somewhere or the pump not working properly.
The easiest thing to check for first is a blockage. I detached the hose at the pump end (using a pair of needle-nose pliers to slide off the clamp). Then, I pressed the delivery button at the brush end and blew through the hose. Air came out, indicating no blockage and a correctly functioning button.
So, a problem with the pump?
Plugging the unit back in and taking care not to touch any internals, I switched on the unit, pressed the delivery button and watched the pump. Nothing happened. Further investigation was required.
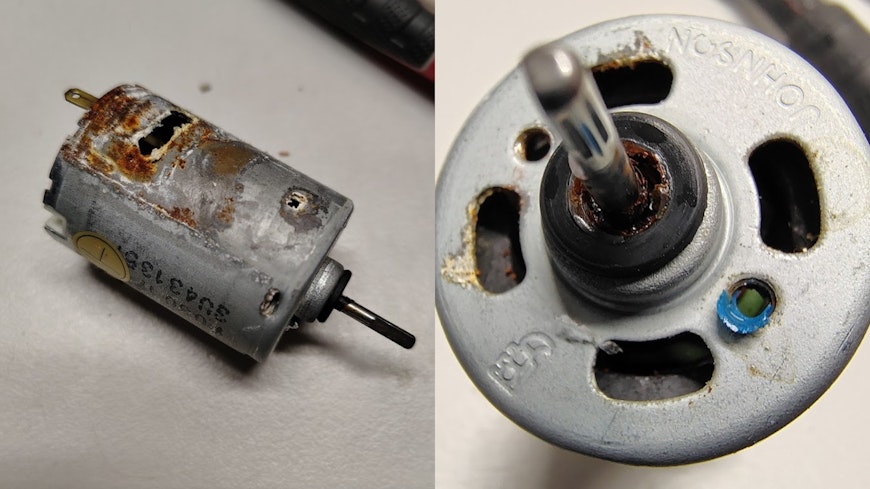
Accessing the pump (after disconnecting the power plug of course!) only involved removing 2 screws and detaching the delivery hose. The impeller unit (simply a fan that spins and pushes the water up the tube) also had a couple of screws holding it to the motor. I powered up the unit again to see if the motor spindle was spinning (if it was, then the problem would be with the impeller). It wasn’t.
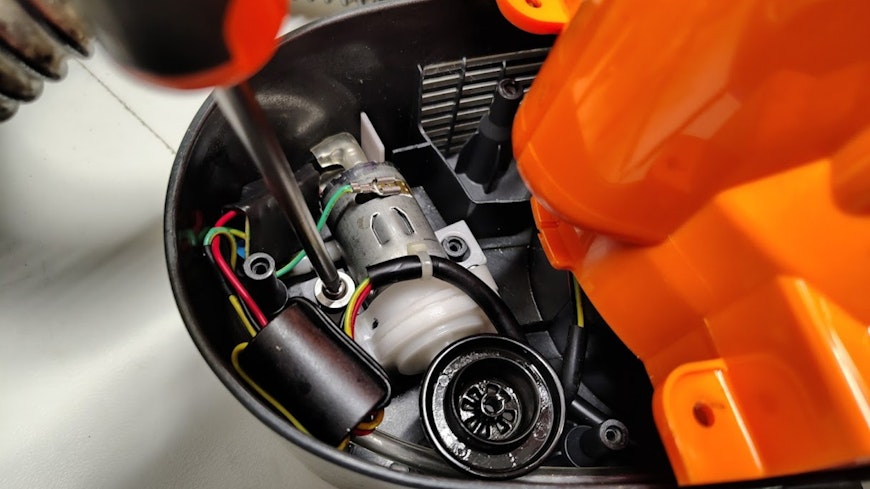
Disconnecting the power again, I completely removed the motor by sliding off the power connectors and discovered the likely cause.
Moisture.
There was corrosion on the underside of the motor and around the spindle shaft.
A Karcher window vac I’d repaired had had a similar problem – moisture had run down the shaft, and rust had seized the spindle bearing. Grabbing the spindle with pliers and trying to turn it confirmed my suspicion. It wouldn’t budge.
The fix
Well, the fix was easy. A drop of my favourite lubricative poison (CRC) down the shaft and some twisting with pliers eventually released the spindle from its rusty grave. The shaft was resurrected to rotate once more!
As with all repairs, a test was required before screwing it all back together. First, I wanted to check the motor spindle would work under power. Then, after adding back the impeller and hose and popping the liquid tank back on, I checked the whole shebang worked together. It did. I was very happy.
Onto Bissell number 2
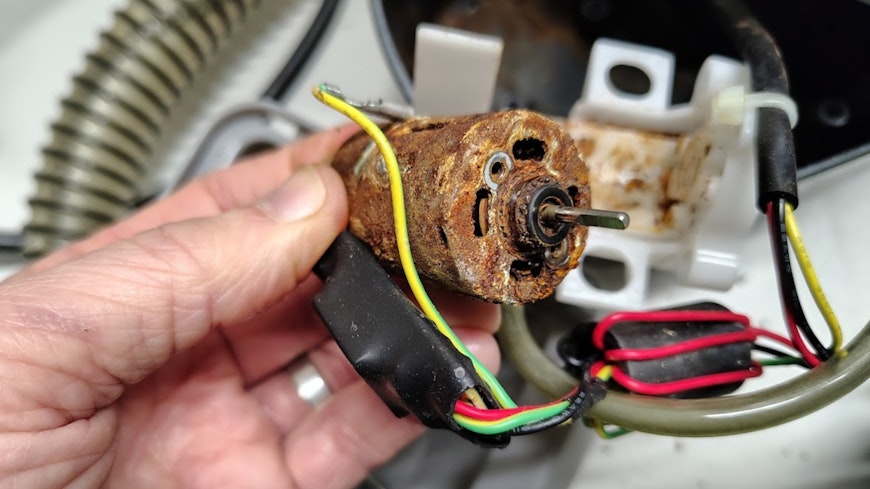
The grubbier of the two purchases, this second cleaner revealed the same issue once the base covers were removed, but multiplied by 10 as you’ll see in the pics.
Lubrication trumps rust again though, and I got this pump running as well, much to my elation. However, this was short lived as, once the hose was reassembled, I couldn’t get the nozzle to spray.
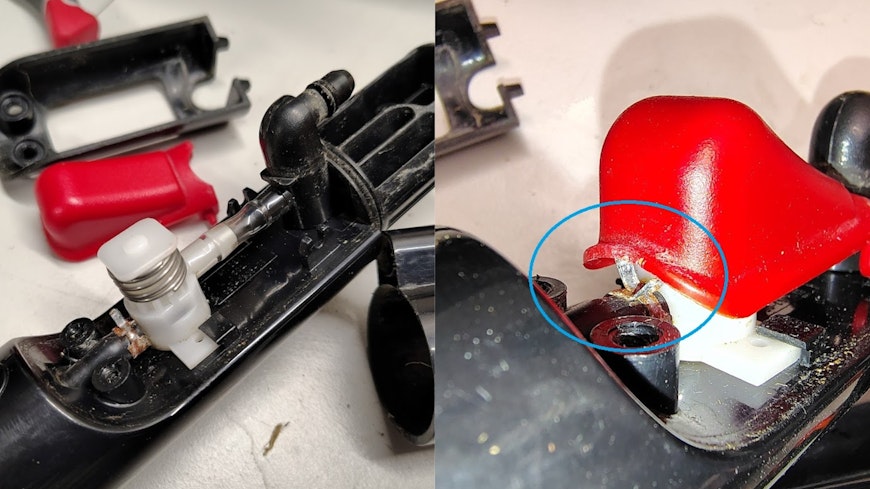
In this case, the delivery button wouldn’t depress. Unscrewing the cover revealed the simple issue. Someone had probably thought there was a blockage at the nozzle and had taken off the hose but not replaced the hose clamp correctly. That left the clamp interfering with the button’s movement. Just twisting the clamp 90 degrees sorted the problem, and once re-assembled, we had a fully functional unit.
Well, nearly fully functional.
You see, when I went to fill up the water tank, it wouldn’t stop dripping from the valve at the base. That’s why this model was so badly corroded compared with the other. Water was continually dripping into the impeller, overflowing and flooding the base and slowly corroding everything until the motor seized.
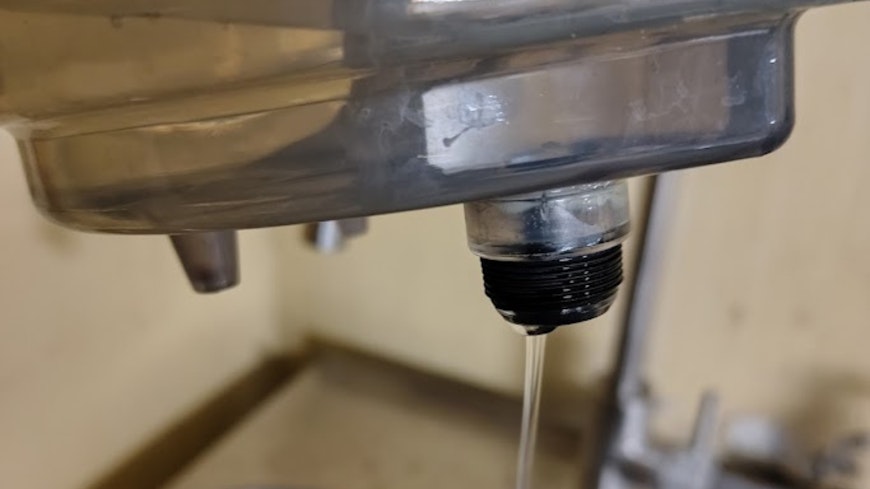
Fixing this leak initially seemed impossible as the valve is sealed inside the tank. However, a squirt of CRC and a few hearty puffs of test writer air through the valve dislodged the foreign matter that was preventing a proper seal. Bissell number 2 lived again!
Motor replacement
For Bissell no 2, I considered replacing the motor due to its condition. I found a replacement on AliExpress for only $15. I nearly hit the ‘buy now’ but noticed there was no metal tang for the earth wire connection. The seller said it wasn’t required, and to some extent, they were right – the pump would still work. But Bissell put that earth connection in there for a reason, so I wasn’t going to risk an electrocution. You could, of course, solder on a tang yourself, but that’s a step too far in this repair story.

The full pump assembly with earth connection is available on eBay. However, once shipping is factored in, the cost is over $60, which was too much for this budget repair.

The moral of this repair story
Keep your products clean and dry. In this case, removing the water tanks after use and pumping out any excess would probably have avoided the problem.
Spray lubricants like CRC or WD40 truly are indispensable.
Have a go at fixing stuff – often minor problems have major repercussions but can easily be solved.
Parts are often available if you spend some time searching online.
Be careful with electrical devices.
Share your fixing knowledge!

Sick of wasting money on products you can’t repair?
Learn about our campaign for a right to repair and help us demand a mandatory repairability label.